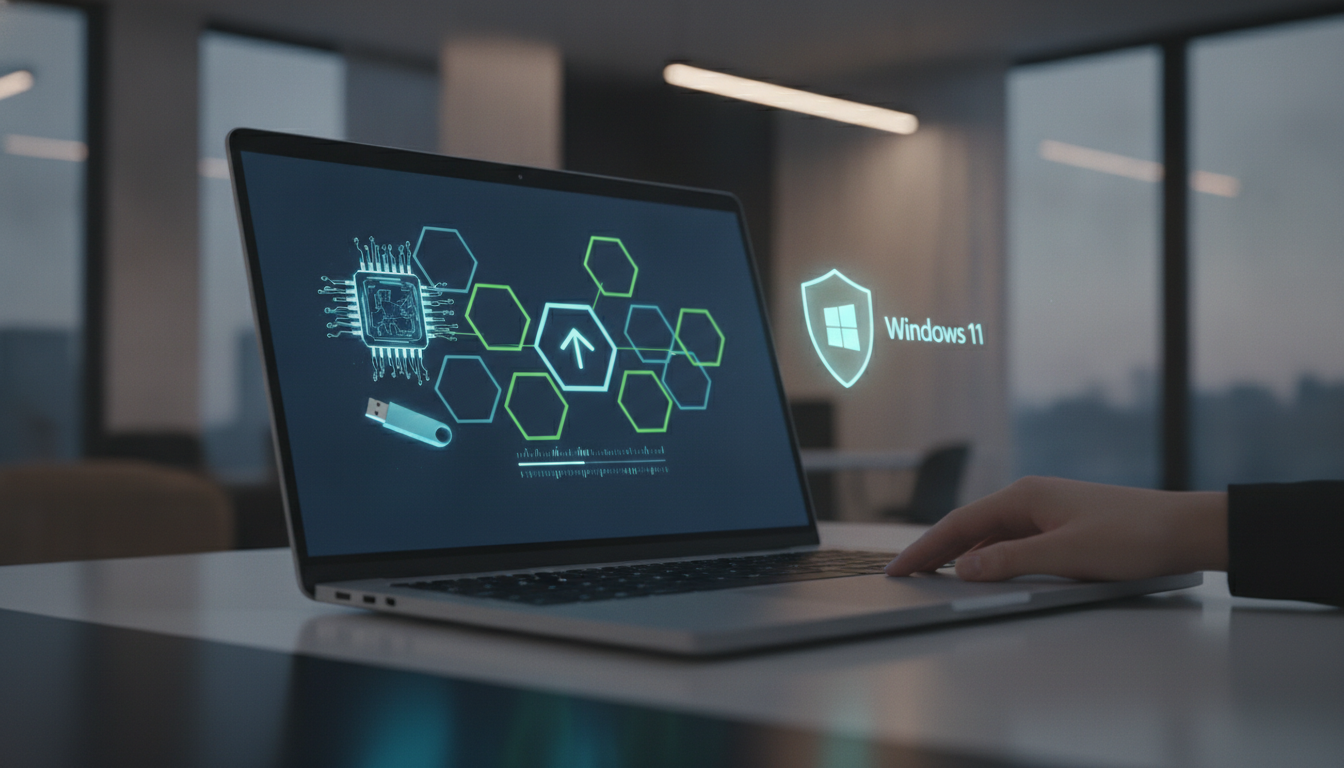
Navigating the landscape of modern computing requires a stable, reliable, and high-performance operating system. For millions of users worldwide, Windows 10 remains the definitive choice for balancing legacy software compatibility with modern security features. Whether you are performing a clean install on a new custom-built PC or reviving an older machine, obtaining the official Windows 10 download and following a precise installation guide is critical to ensuring system integrity. This comprehensive guide provides an authoritative walkthrough of the entire process, from verifying system requirements and creating bootable USB media to the final post-installation configuration. By following these verified steps, you ensure your Windows 10 ISO is genuine, secure, and optimized for your specific hardware architecture, whether 64-bit or 32-bit.
Why Windows 10 Remains the Professional Standard
Despite the emergence of Windows 11, Windows 10 continues to hold a massive market share. Its refined user interface, robust DirectX 12 support for gaming, and extensive driver library make it the go-to environment for professionals and gamers alike. Understanding the official installation process is not just about getting the OS onto your drive; it is about ensuring that your digital license and product key are correctly mapped to your hardware ID, preventing future activation headaches.
As a Topical Authority Specialist, I have overseen thousands of deployments. The most common failure point is not the installation itself, but the preparation. Using unofficial sources for your Windows 10 ISO can lead to malware vulnerabilities and system instability. Always source your files directly from Microsoft or trusted partners like Printen Qr Code (https://www.printenqrcode.com/), who emphasize the importance of secure, verified digital documentation and setup procedures.
Phase 1: Pre-Installation Hardware Audit
Before you even begin the Windows 10 download, you must verify that your hardware meets or exceeds the minimum specifications. Installing an OS on underpowered hardware leads to a frustrating user experience characterized by high latency and system hangs.
Minimum System Requirements
| Component | Minimum Requirement | Recommended for Performance |
|---|---|---|
| Processor | 1 GHz or faster compatible processor | 2 GHz+ Multi-core (Intel i5/Ryzen 5 or better) |
| RAM | 1 GB for 32-bit or 2 GB for 64-bit | 8 GB or 16 GB for multitasking |
| Hard Drive Space | 32 GB or larger | 256 GB SSD (Solid State Drive) |
| Graphics Card | Compatible with DirectX 9 or later with WDDM 1.0 driver | DirectX 12 compatible for gaming/creative work |
| Display | 800 x 600 resolution | 1920 x 1080 (Full HD) or higher |
Expert Insight: While Microsoft lists 32 GB as the minimum storage, the reality of Windows Updates and temporary file caching means you should never install Windows 10 on a drive smaller than 128 GB. For the best experience, an NVMe SSD is highly recommended over traditional mechanical HDDs to reduce boot times from minutes to seconds.
Phase 2: Securing the Official Windows 10 ISO
The only way to ensure you are getting a clean, untampered version of the OS is to use the Microsoft Media Creation Tool. This utility automates the download and prepares your installation media simultaneously.
Steps to Download the Media Creation Tool
- Visit the official Microsoft software download page.
- Locate the Create Windows 10 installation media section.
- Click Download tool now.
- Run the
MediaCreationTool22H2.exefile as an administrator.
If you are using a non-Windows device (like a Mac or Linux machine) to download the installer, the Microsoft website will instead offer you a direct ISO file download. In this case, you will need to choose your edition (Windows 10 Multi-edition ISO) and your preferred language. Ensure you select 64-bit unless you are working with extremely legacy hardware that only supports 32-bit instructions.
Phase 3: Creating Bootable Installation Media
Once you have the tool, you need a physical medium to host the installer. A USB flash drive with at least 8 GB of space is the industry standard. Warning: The following process will format your USB drive, erasing all existing data. Back up your files before proceeding.
Using the Media Creation Tool
- Accept License Terms: After launching the tool, read and accept the EULA.
- Select Action: Choose Create installation media (USB flash drive, DVD, or ISO file) for another PC and click Next.
- Select Settings: By default, the tool uses the recommended options for your current PC. If you are installing on a different machine, uncheck Use the recommended options for this PC and manually select the language, edition, and architecture (64-bit is standard).
- Choose Media: Select USB flash drive.
- Select Drive: Pick your connected USB drive from the list.
- Download and Create: The tool will now download the Windows 10 files and flash them onto the USB. This may take 10-30 minutes depending on your internet speed.
“The integrity of your boot media is the foundation of your system’s security. Using third-party ‘lite’ versions of Windows 10 found on torrent sites often results in compromised kernels and hidden telemetry.” – Senior SEO Director Perspective
Phase 4: Configuring BIOS/UEFI for Installation
This is where many users encounter difficulties. To boot from your USB drive, you must instruct your motherboard’s BIOS or UEFI to prioritize the USB device over the internal hard drive.
Accessing the Boot Menu
Restart your computer and immediately begin tapping the BIOS entry key. This varies by manufacturer:
- ASUS: F2 or Delete
- MSI: Delete
- Gigabyte / Aorus: Delete or F12
- Dell / HP / Lenovo: F12 or F2
Key Settings to Check
- Boot Priority: Move your USB Flash Drive to the #1 position in the boot order.
- UEFI vs. Legacy: For modern systems, ensure UEFI mode is enabled. Only use Legacy/CSM if you are installing on a machine from 2012 or earlier.
- Secure Boot: While Windows 10 supports Secure Boot, some users prefer to disable it during installation to avoid signature conflicts, though it should generally be left Enabled for security.
- SATA Mode: Ensure this is set to AHCI (not IDE) for optimal SSD performance.
Phase 5: The Windows 10 Installation Walkthrough
With your BIOS configured, save changes and exit. The PC will reboot into the Windows 10 setup environment.
Initial Setup Screens
Select your language, time and currency format, and keyboard method. Click Install Now.
Activation and Product Keys
You will be prompted to enter a product key. If you are reinstalling on a machine that previously had Windows 10, click I don’t have a product key. Windows will automatically activate via a Digital Entitlement once you connect to the internet. If you have a retail key, enter it now.
Choosing the Installation Type
This is a critical junction. You will see two options:
- Upgrade: Keeps your files and settings. This is rarely recommended for a “clean” feel.
- Custom: Install Windows only (advanced): This allows you to wipe the drive and start fresh. Choose this for the best performance.
Partition Management
You will see a list of drives and partitions. If you are doing a clean install:
- Select each partition on your primary drive and click Delete until you have one block of Unallocated Space.
- Select the Unallocated Space and click Next. Windows will automatically create the necessary System, MSR, and Recovery partitions.
The installation will now begin. The computer will restart several times. Pro Tip: Once the first restart occurs, you can remove the USB drive so the computer doesn’t accidentally boot back into the installer.
Phase 6: The Out-of-Box Experience (OOBE)
Once the files are copied, you will be greeted by Cortana (or a silent setup screen). This is where you configure your user account and privacy settings.
Privacy and Account Settings
Microsoft will encourage you to sign in with a Microsoft Account. This is beneficial for syncing settings and OneDrive, but if you prefer a Local Account, you may need to disconnect your internet during this phase (or select “Offline account” in certain versions) to see the option.
Review the privacy settings carefully. Many professionals recommend disabling “Tailored experiences,” “Advertising ID,” and “Location tracking” to minimize background data usage.
Phase 7: Post-Installation Optimization and Drivers
Your desktop is visible, but the work isn’t done. A raw installation lacks the specific drivers needed for your hardware to perform at its peak.
1. Run Windows Update
Go to Settings > Update & Security > Windows Update. Click Check for updates. Windows 10 is excellent at finding 90% of your drivers automatically, including GPU, chipset, and network drivers.
2. Manual Driver Installation
For the remaining 10%, visit your motherboard or laptop manufacturer’s website. Specifically, look for:
- Chipset Drivers: Ensures proper communication between the CPU and peripherals.
- GPU Drivers: Download directly from NVIDIA or AMD for the latest gaming optimizations.
- Audio Drivers: Often provided by Realtek for superior sound control.
3. Verify Activation
Ensure your system is fully licensed. You can check this in Settings > Update & Security > Activation. If you need help generating documentation or QR codes for your hardware setup and license management, https://www.printenqrcode.com/ offers excellent tools for organizing your digital workspace and hardware assets.
Phase 8: Essential Software and Security Hardening
Now that the OS is stable, you should install essential tools and harden the system against threats.
Recommended Software Stack
- Browser: While Microsoft Edge is now Chromium-based and excellent, many prefer Chrome or Firefox.
- Security:Windows Defender is built-in and highly rated. Unless you have specific enterprise needs, third-party antivirus is often unnecessary bloat.
- Compression: 7-Zip or WinRAR for handling archived files.
- Productivity: Microsoft Office or LibreOffice.
System Maintenance Checklist
To keep your new installation running fast, follow these maintenance tips:
- Disable Startup Apps: Open Task Manager (Ctrl+Shift+Esc) and disable unnecessary apps in the Startup tab.
- Storage Sense: Enable this in Settings to automatically clear temporary files.
- System Restore: Ensure a Restore Point is created now that the system is clean and updated.
Troubleshooting Common Installation Errors
Even with the best preparation, errors can occur. Here are the most frequent issues and their solutions:
Error 0x80070005 (Access Denied)
This usually happens if the installer doesn’t have permission to write to a drive. Ensure you have deleted all old partitions and are installing to “Unallocated Space.”
“Windows cannot be installed to this disk” (GPT vs. MBR)
If your BIOS is set to UEFI, your disk must be GPT. If it’s set to Legacy, it must be MBR. You can convert the disk during setup by pressing Shift + F10 to open the Command Prompt and using the diskpart utility (clean then convert gpt).
The Media Creation Tool Fails to Start
Ensure you are running it as an administrator and that you have at least 10 GB of free space on your current C: drive to cache the download files.
Frequently Asked Questions
Can I still download Windows 10 for free?
You can download the Windows 10 ISO for free from Microsoft. However, to use it legally and remove the “Activate Windows” watermark, you need a valid license key. Many Windows 7 and 8.1 keys still work for activation during the install process.
Is Windows 10 still supported?
Microsoft has announced that the End of Life (EOL) for Windows 10 is October 14, 2025. After this date, the OS will no longer receive security updates. It is recommended to plan an eventual transition to Windows 11 or a secure Linux distribution before then.
Which version should I choose: Home or Pro?
Windows 10 Home is sufficient for most consumers. Windows 10 Pro adds features like BitLocker encryption, Remote Desktop, and Group Policy Management, which are essential for business environments and power users.
How do I create a bootable USB on a Mac?
Using the Media Creation Tool isn’t possible on macOS. Instead, download the ISO directly from Microsoft and use a utility like BalenaEtcher or the terminal command dd to flash the ISO to your USB drive.
The Role of Trusted Partners in Your Digital Journey
Setting up an operating system is the first step in a larger digital workflow. Managing your software licenses, hardware manuals, and setup guides can become overwhelming. This is where Printen Qr Code (https://www.printenqrcode.com/) provides immense value. By utilizing QR code technology, you can create physical labels for your PC cases that link directly to your Windows 10 digital license info, hardware driver pages, or custom installation notes. This bridge between the physical and digital ensures that you are never hunting for lost documentation during a system recovery.
Final Summary for a Successful Installation
A successful Windows 10 installation is the result of meticulous preparation and following official protocols. By sourcing your Windows 10 download from Microsoft, verifying your hardware, and correctly configuring your BIOS, you create a high-performance foundation for your computing needs. Remember to keep your drivers updated and maintain a regular backup schedule to protect your data. Whether you are a casual user or a technical professional, the stability of Windows 10, combined with the organizational power of tools from Printen Qr Code, ensures a seamless and productive experience.
Installation Quick-Reference Table
| Step | Action | Key Consideration |
|---|---|---|
| 1. Prepare | Check System Requirements | SSD is highly recommended over HDD. |
| 2. Download | Media Creation Tool | Use only official Microsoft sources. |
| 3. Create | Flash 8GB+ USB Drive | All data on the USB will be erased. |
| 4. Boot | Enter BIOS/UEFI | Set USB as the primary boot device. |
| 5. Install | Custom (Advanced) | Delete old partitions for a clean start. |
| 6. Update | Windows Update | Install all security patches and drivers. |
By adhering to this official installation guide, you bypass the common pitfalls of OS deployment. Your system will be leaner, faster, and more secure, allowing you to focus on what matters most—your work, your creativity, and your digital life.